Skip to navigation

Learn how to accept the Secure Data Share in Snowflake.

When the Secure Data Share views are shared by Zuora, accept the incoming share and create a database in your Snowflake account to access the shared views.


1

Log in to your Snowflake account using the account locator you provided during setup.

2

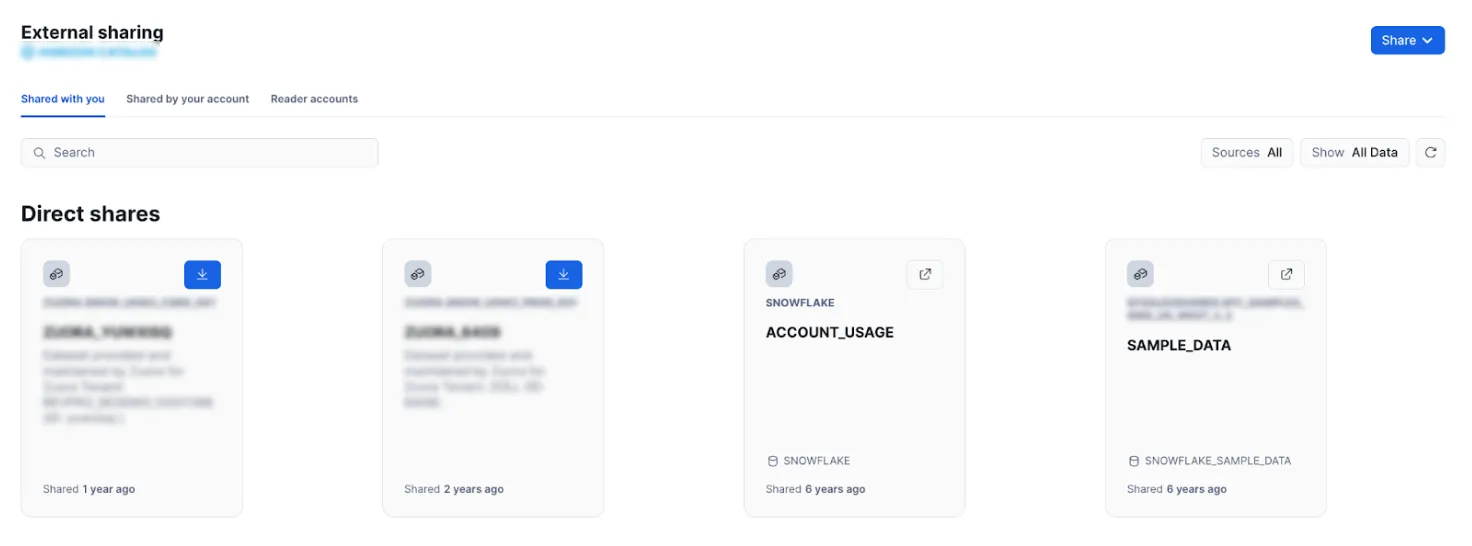
Navigate to Snowflake > Data Sharing > Private Sharing > Inbound Shares.

You should see an inbound share request from Zuora.

3

Accept the inbound share. This option is available in the Data Sharing section under the External Sharing menu.

4

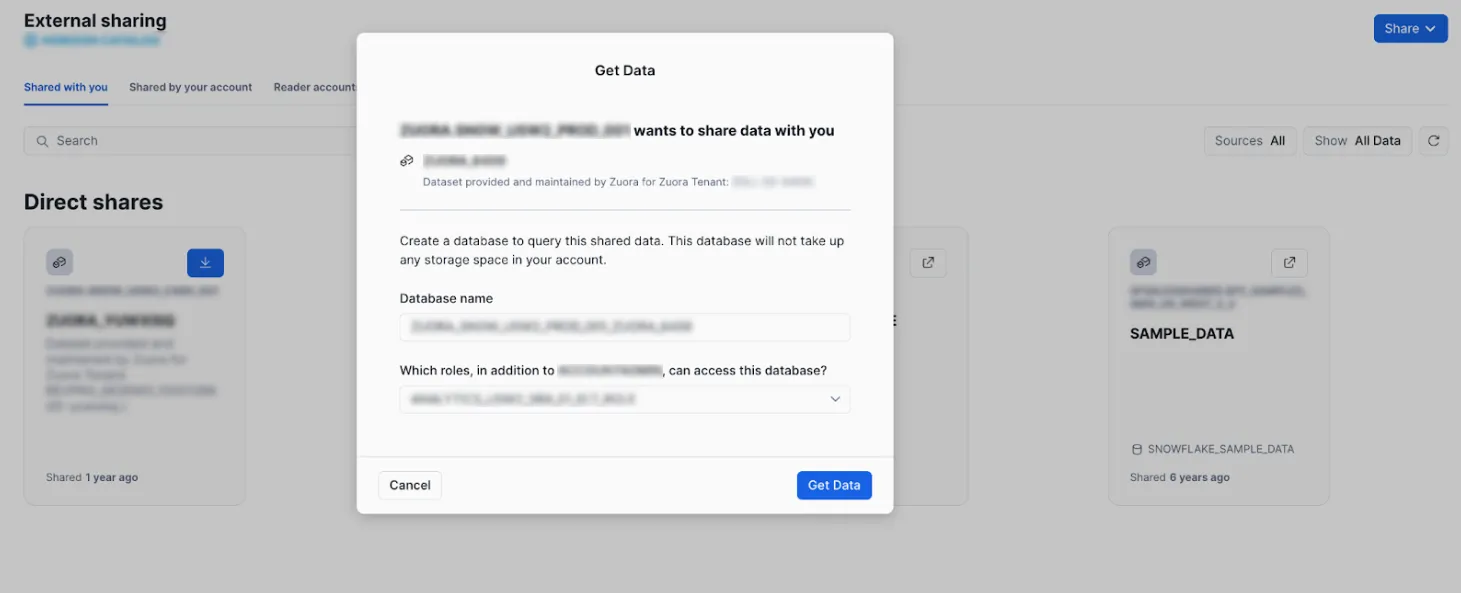
Create a database from the accepted share.

5

Assign the appropriate Snowflake roles that need access to this database.

6

Click Get Data to complete the process.

When these steps are completed, you will see the ZUORA_<TenantID> schema available in your Snowflake account.

Secure_Data_Share_UI_4

Secure_Data_Share_UI_5